Report Export Guide
Prepare and export your Klaviyo CSV reports exactly as outlined below. CSV uploads enable fast, reliable processing for large datasets.
1
Log in to Klaviyo
- Sign in to your Klaviyo account.
- If you manage multiple accounts, confirm you’re in the correct one.
2
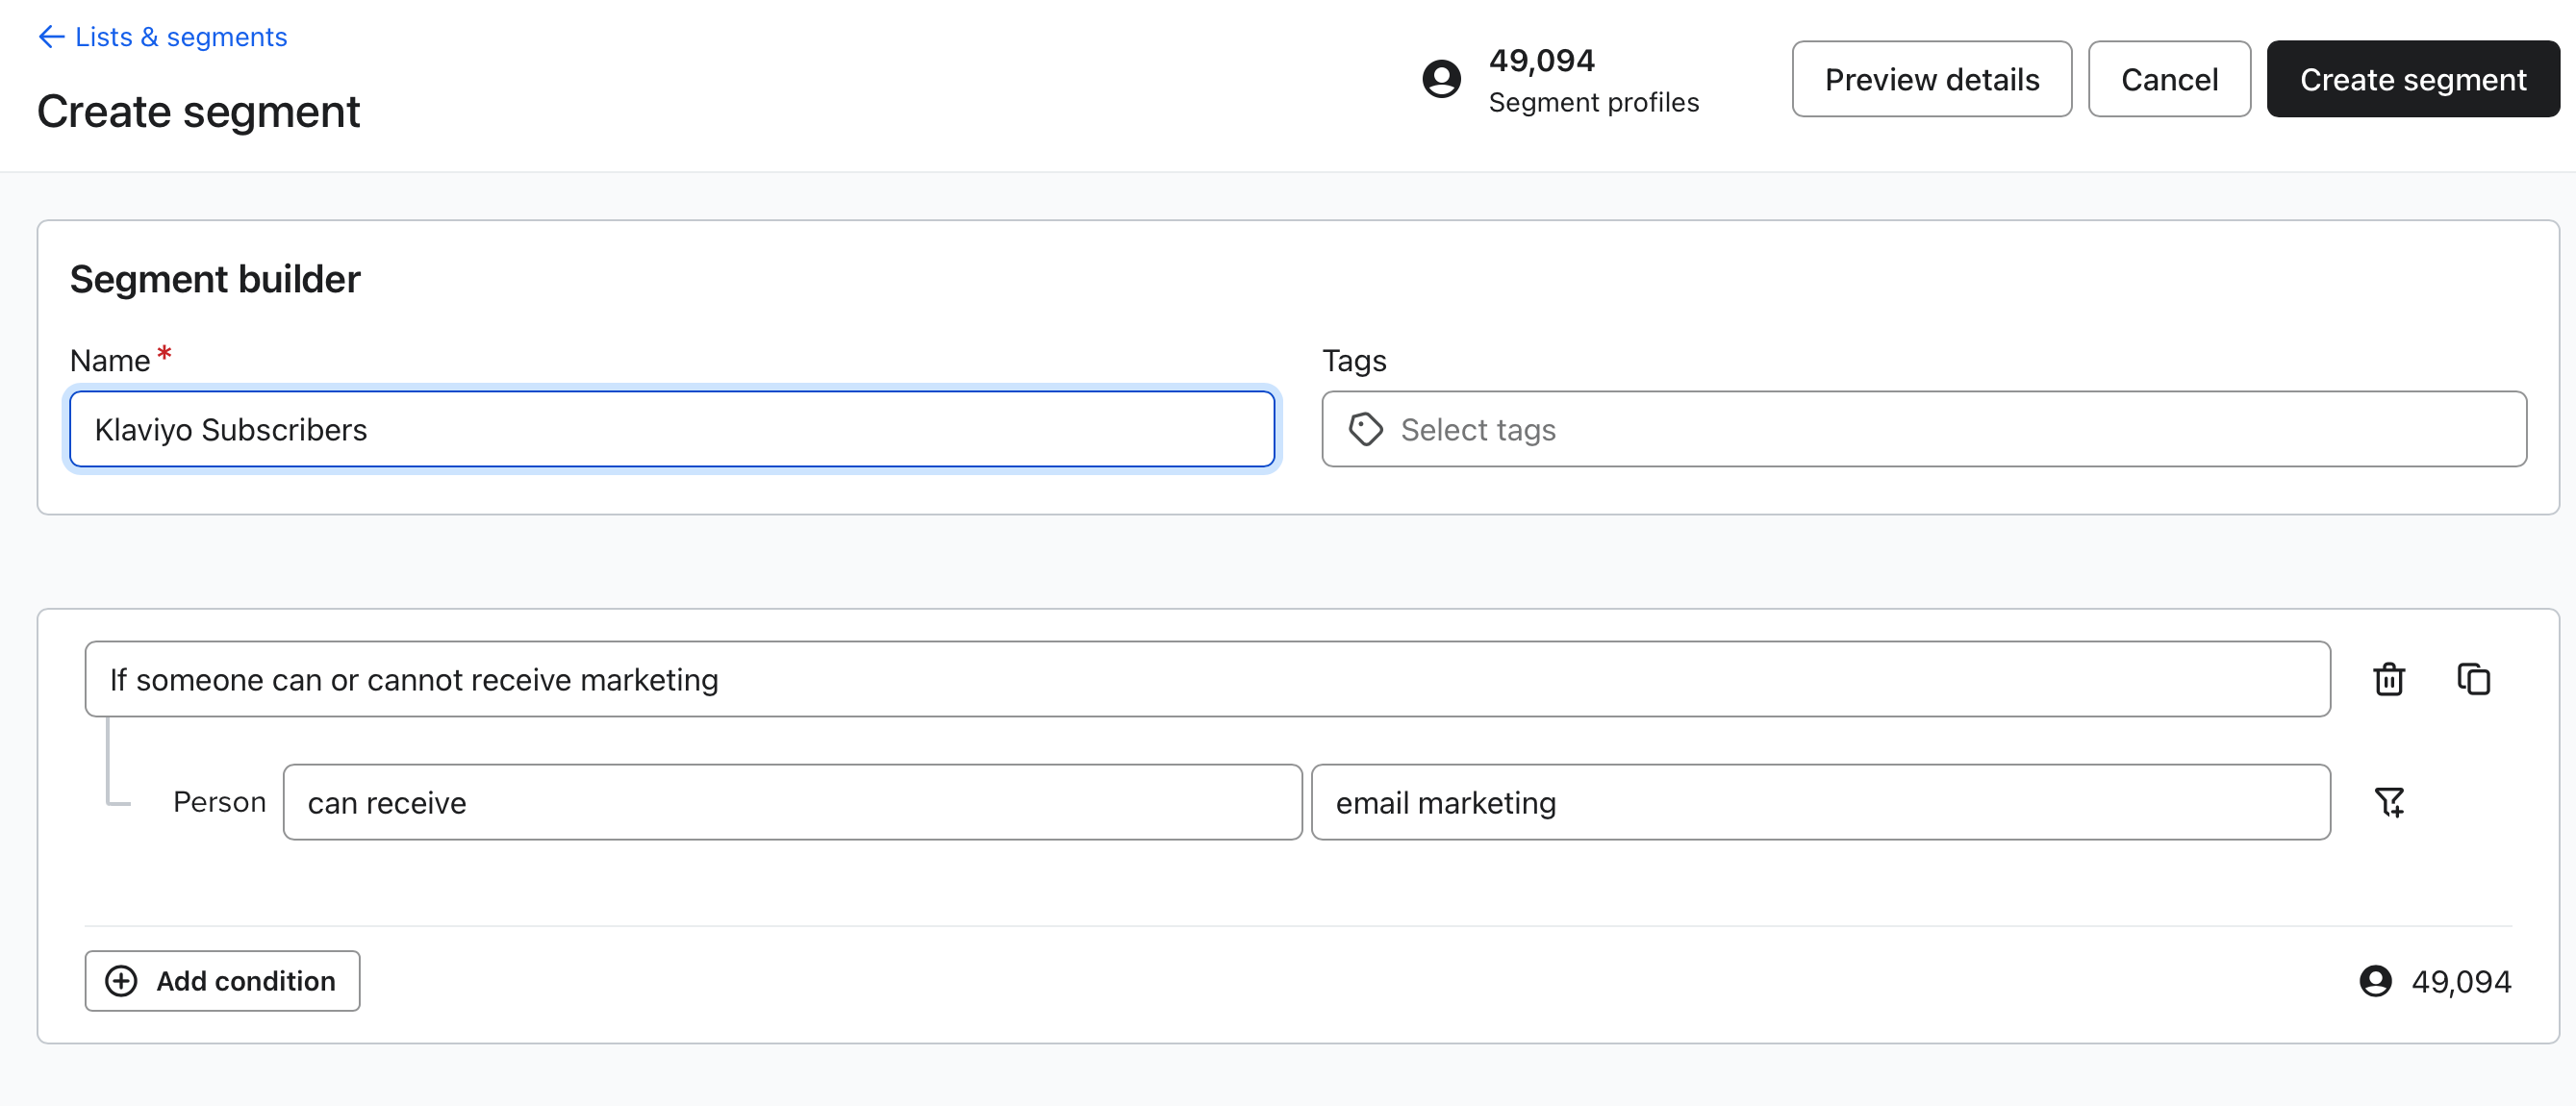
Create a Segment of All Active Subscribers
- Go to Lists & Segments.
- Click Create New → Create Segment.
- Name the segment (e.g., Klaviyo Subscribers).
- Set the condition: can receive email marketing.
Note: Depending on the size of your account, Klaviyo may take some time to generate the segment. Wait until it is fully built before moving on.
3
Export the Segment
- Open the segment you just created.
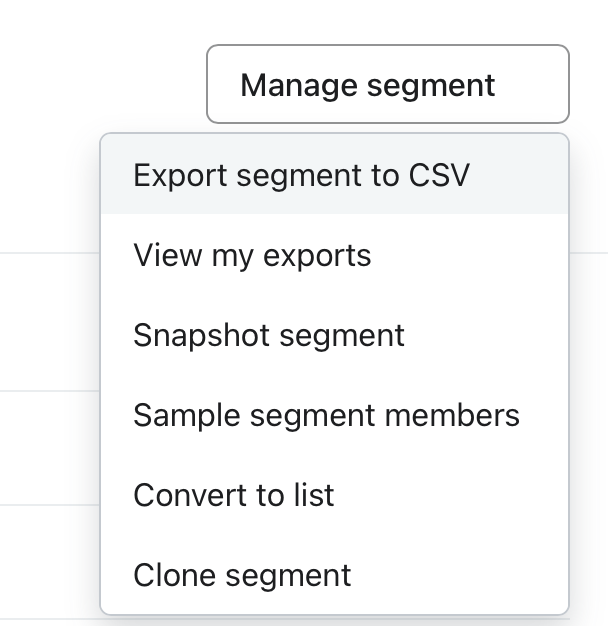
- From inside the Segment page, go to Manage Segment → Export Segment to CSV.
- On the Export Review screen, check Property to select all fields.
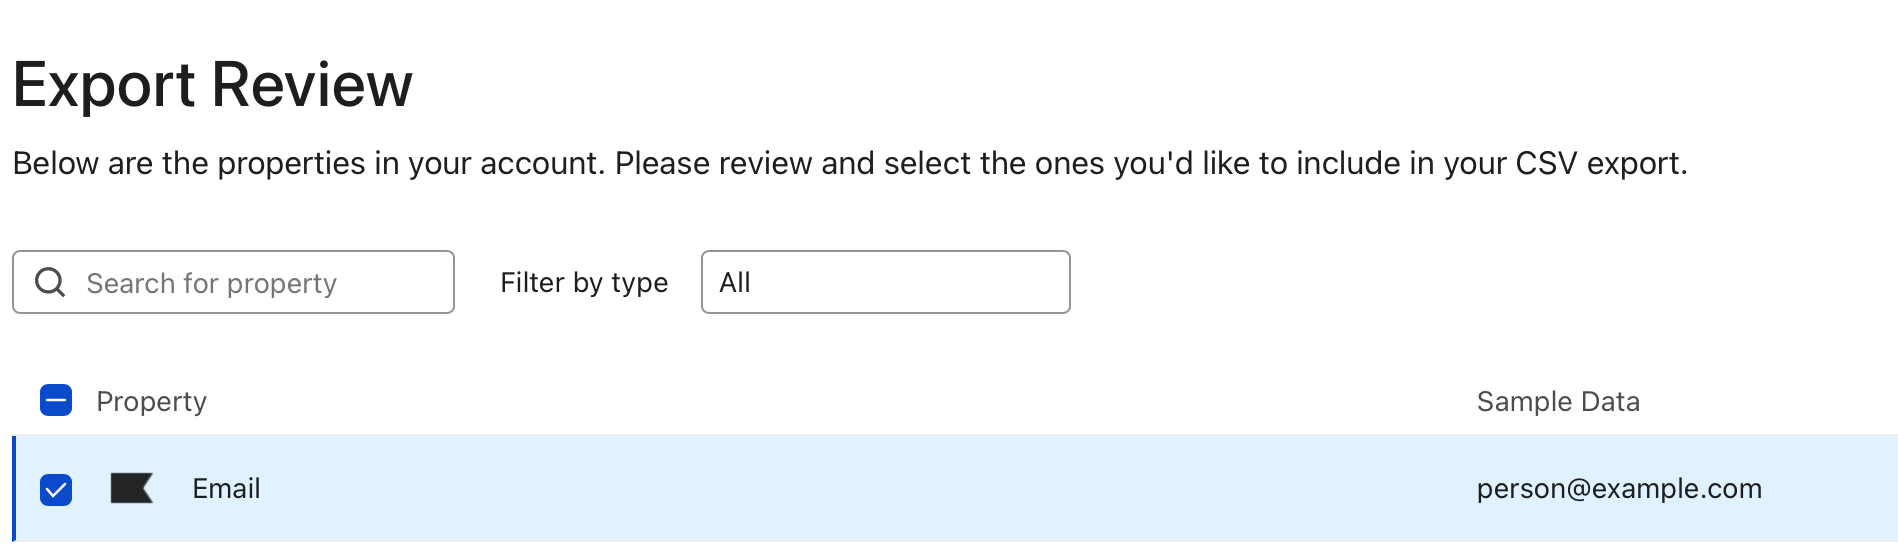
- Click Start Export.
Export processing usually takes 1–2 minutes.
4
Save the Exported File
- If prompted with Save As, name the file something clear (e.g., Klaviyo Subscribers.csv) and save.
- If not prompted, go to Manage Segment → View My Exports.
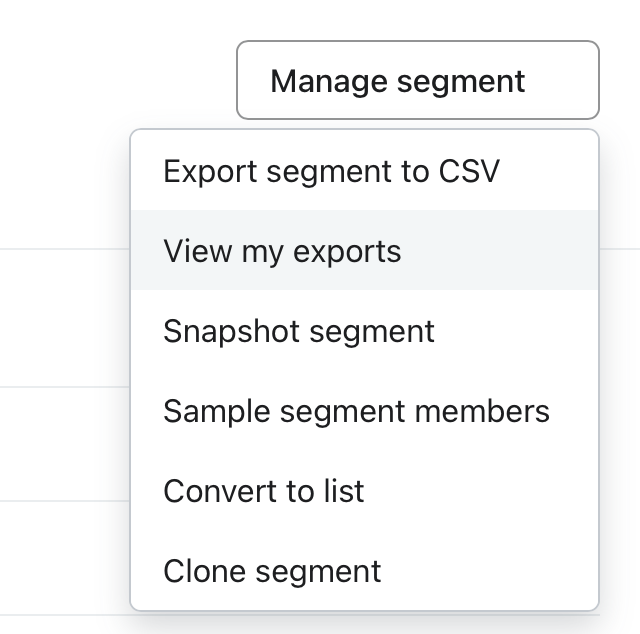
- Download the file from the list of completed exports.

Your subscriber data is now ready. Next, export Flows.
5
Export Flow Analytics
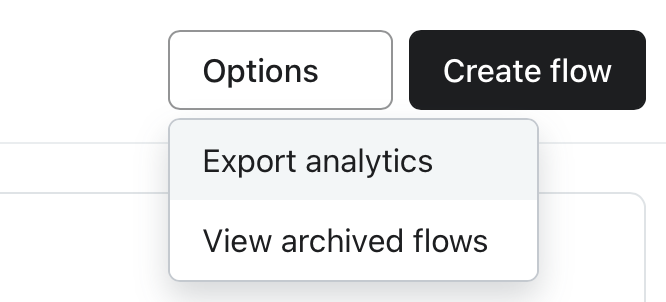
- Go to Flows.
- Open Options → Export analytics.
- In the export window:
- Time range: All-time
- Aggregate analytics by: Daily
- Click Export Analytics.
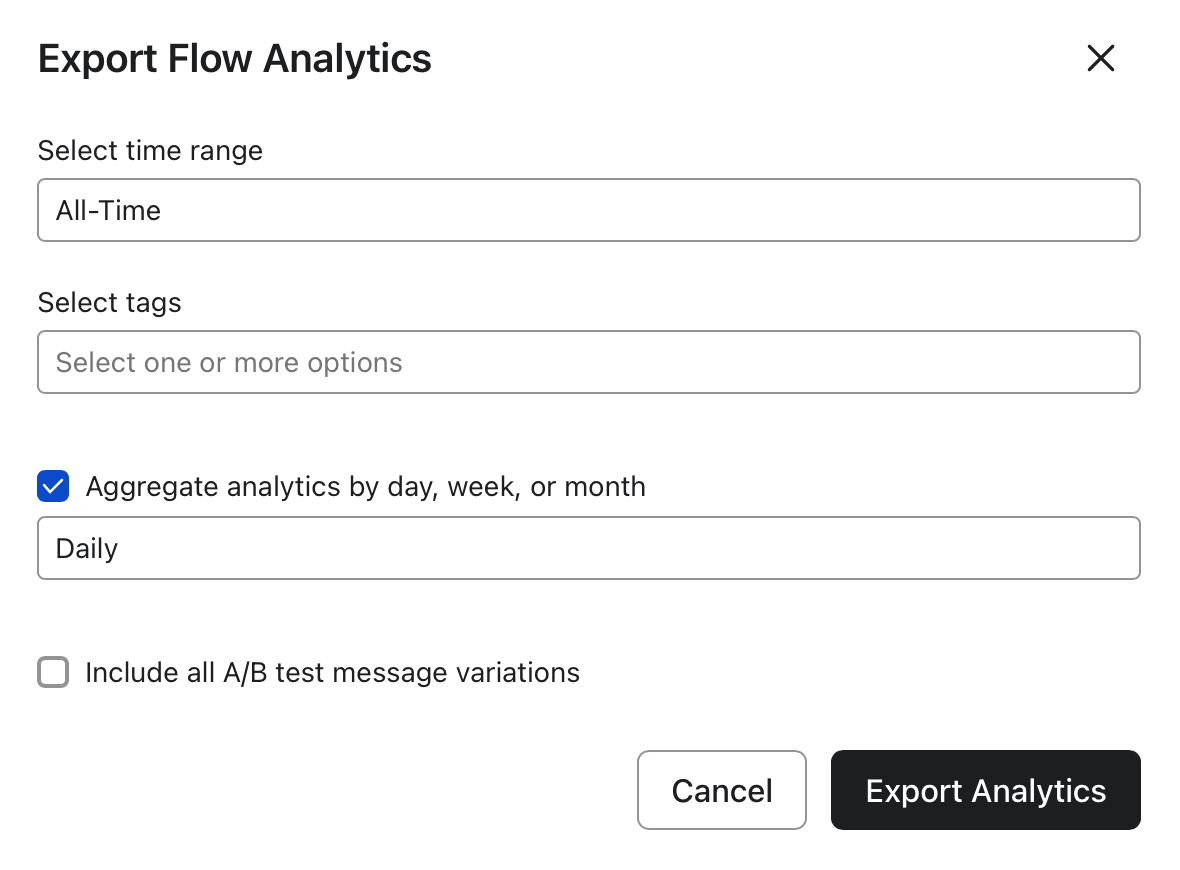
- Save the file as Klaviyo Flows.csv (or similar).
6
Export Campaign Analytics
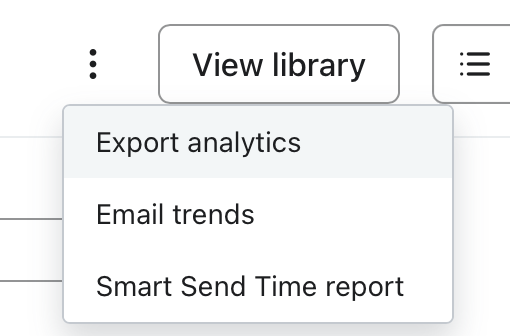
- Go to Campaigns.
- Click the three-dot menu (⋮) next to View Library → Export analytics.
- In the export window set Time range: All Sent Campaigns.
- Click Export Analytics.
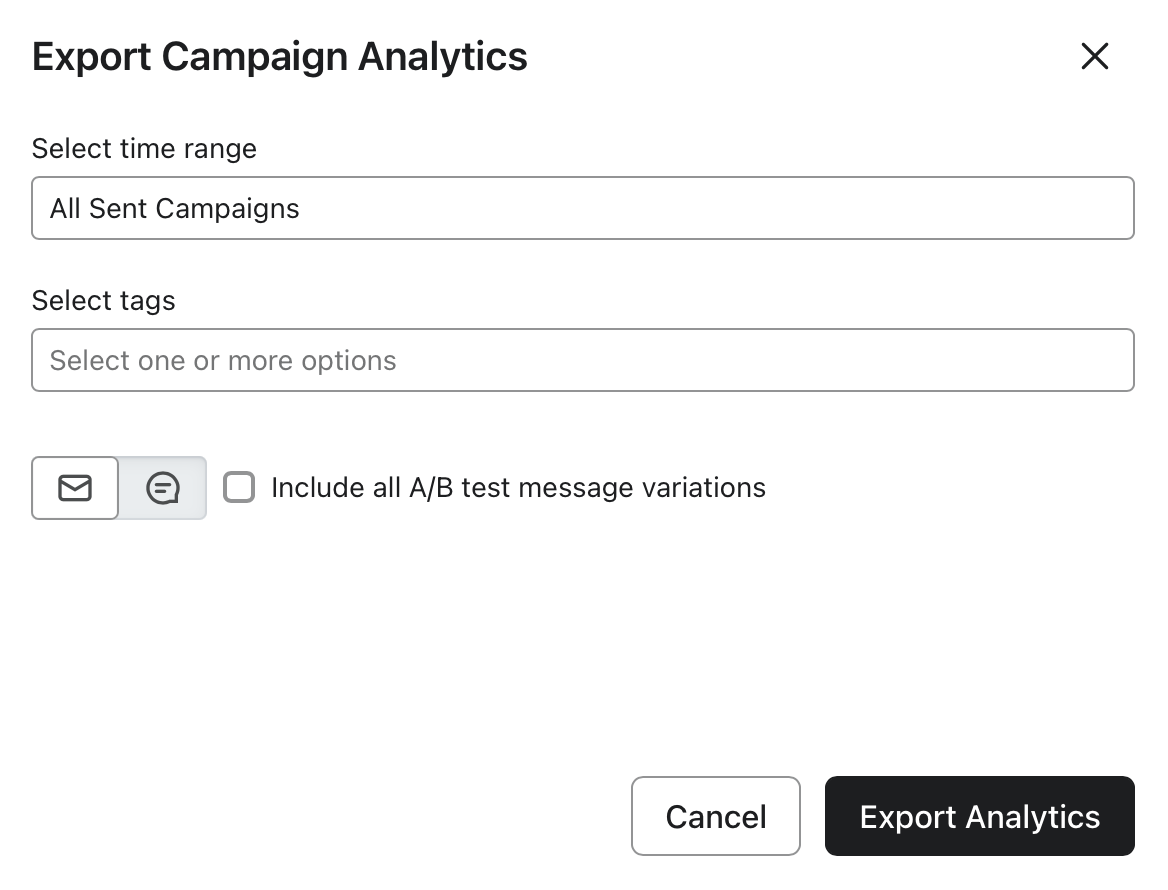
- Save the file as Klaviyo Campaigns.csv (or similar).
7
Upload to Email Metrics
Once you have all three files:
- Subscribers (Segment export)
- Flows (Analytics export)
- Campaigns (Analytics export)
Return to the Email Metrics App homepage and upload your reports.